You can create custom bathroom towels into display-worthy pieces using seven simple techniques. Try fabric glue with ribbon for a no-sew approach, sew decorative trim along edges, create textured pleats or loops, craft fabric rosettes with button centers, stack buttons into tassel trim, attach appliqués or patches, and seal ribbon ends to prevent fraying. Each method requires basic supplies and minimal skills. Whether you prefer gluing or stitching, you’ll create custom towels that deserve a prominent spot on your rack—and there’s plenty more creative detail to explore.
Add Ribbon or Fabric Trim With Fabric Glue
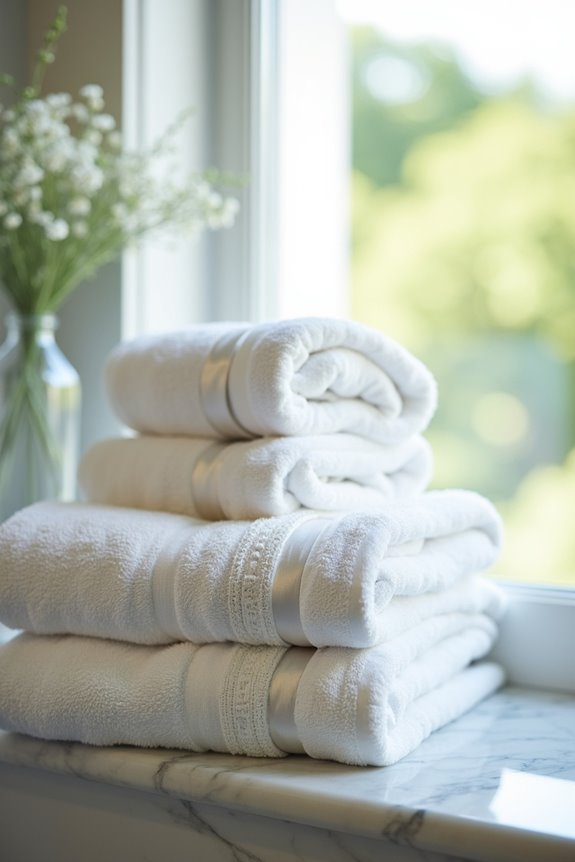
Want to make plain towels look fancier? Fabric glue is an excellent option! This no-sew method keeps your towels totally laundrable, which is honestly the best part.
Fabric glue transforms plain towels into fancy ones with a no-sew method that keeps them totally laundrable.
Start by making sure your towels and ribbon are clean, dry, and flat. Seriously, this step matters—wrinkles now mean bumps later. Choose narrow, heat-sealed ribbon for the best results. It prevents that stiff, puckered look nobody wants.
Apply fabric glue in a thin, even line along your towel’s edge or wherever you envision your design. Press the ribbon down firmly and let it cure completely according to the glue’s instructions. Your patience pays off here.
Once set, you can carefully iron on low heat using a pressing cloth if needed. You’ll have custom decorated towels that look well-designed and polished!
Sew Decorative Ribbon Along Towel Edges
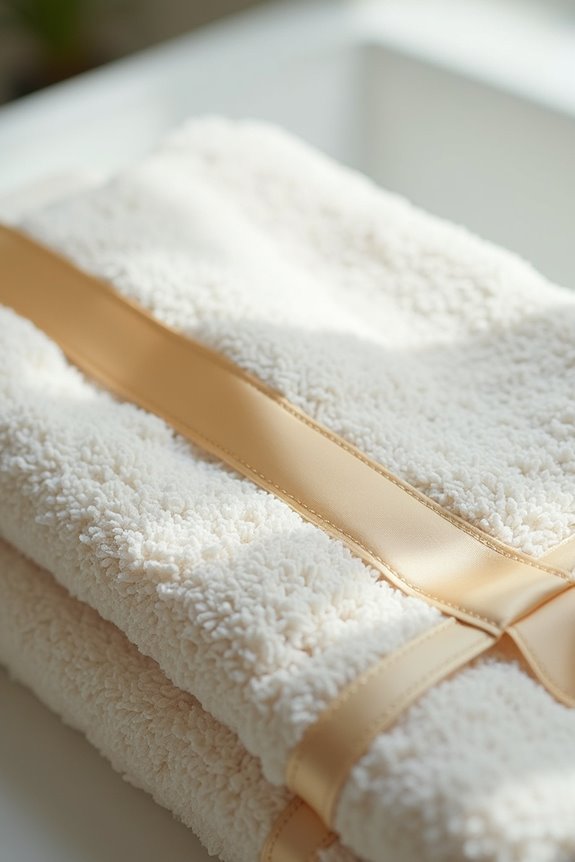
Why settle for plain towel edges when you can stitch them up with style? Sewing decorative ribbon onto your towel edges creates a polished, finished look that gives basic bathroom basics a more sophisticated appearance.
Start by washing and drying both your towel and ribbon to prevent puckering later. Align your ribbon along the towel’s front edge and sew with small, even stitches using a sewing machine or needle and thread. A matching or coordinating ribbon works best—wired options stay put beautifully.
Secure everything with a back stitch at the finish to hide raw edges. For extra durability, try sewing two parallel ribbon lines or adding vertical stitches every few inches to prevent curling. Your towel investment just got an upgrade that’ll have guests asking where you shop!
Create Pleated or Looped Trim for Texture
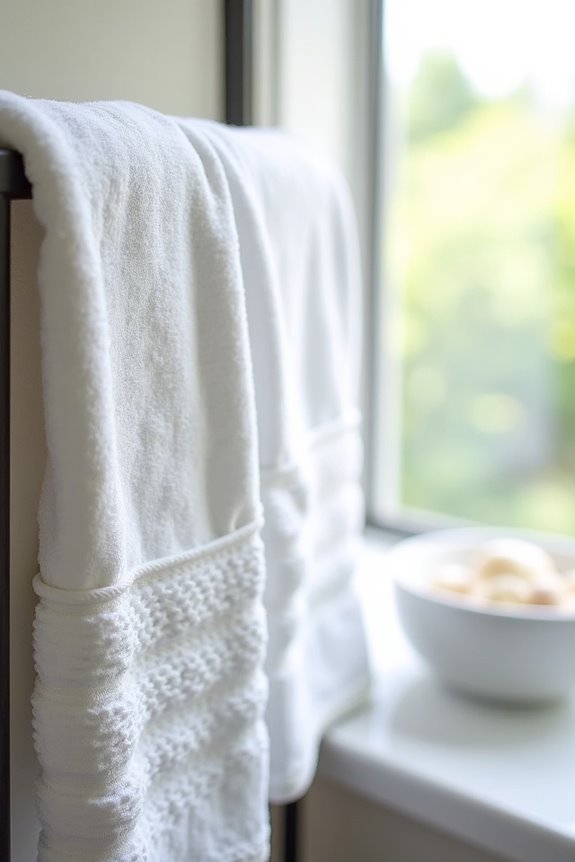
You can create a unique towel by adding pleated or looped trim that brings texture and dimension to the edges. Pleating works by folding ribbon into evenly spaced, crisp folds along the top, while looping involves folding ribbon pieces in half and pinning them to a base ribbon for a dimensional effect. Both techniques let you mix and match textures, add beads for extra detail, and create a custom look for your bathroom.
Pleating Ribbon For Dimension
Ever notice how folded fabric instantly makes something look fancier? That’s the power of pleating ribbon for dimension! Here’s your approach: cut a length of ribbon, then fold it into evenly spaced accordion pleats. Pin everything down carefully so those folds stay put. Now sew along the top edge to lock everything in place.
The cool part? Ribbon width totally matters. Wider ribbons create bold, dramatic pleats, while thinner ribbons give you delicate, refined texture. As you work, press those pleats flat so your trim lies perfectly against the towel without any puckering.
Want extra flair? Sew beads or buttons at interval points along your pleated ribbon. These tiny accents highlight your beautiful work and add visual interest to bathroom towels you’ll actually want to display.
Looping Techniques And Methods
If pleating’s got you excited, looping techniques will create even more texture and dimension.
You’ll fold ribbon pieces in half to form loops, then pin them onto a longer ribbon base. Here’s what makes this effective:
- Sew or glue the loops securely in place for a decorative trim that stays put
- Space loops evenly along your towels for a polished, intentional look
- Mix and match colors to coordinate with your bathroom’s existing style
The result? Decorative trim that turns basic towels into focal pieces. Add optional beads or buttons between loops for extra visual interest. Your looping techniques create texture that makes towels feel special and distinctly yours—worth the effort.
Texture Variations And Effects
What makes flat towels visually interesting? Texture variations and effects! You can create pleated trim by cutting ribbon, nailing or sewing the top edge, then folding it into even pleats. Alternatively, make fabric looped trim by folding ribbon pieces in half to form loops along a longer strip.
| Technique | Materials | Best For |
|---|---|---|
| Pleated Trim | Grosgrain ribbon, needle, thread | Vertical texture |
| Looped Trim | Fabric strips, pins, glue | Dimensional edges |
| Beaded Pleats | Pleats, beads, needle | Enhanced depth |
Combine pleats with beads at intervals for tactile variety. Use textured ribbon to maximize surface interest. Balance your trim’s width and density with your towel’s size—test on scraps first to avoid bulk and puckering.
Make Fabric Yo-Yo Rosettes and Button Accents
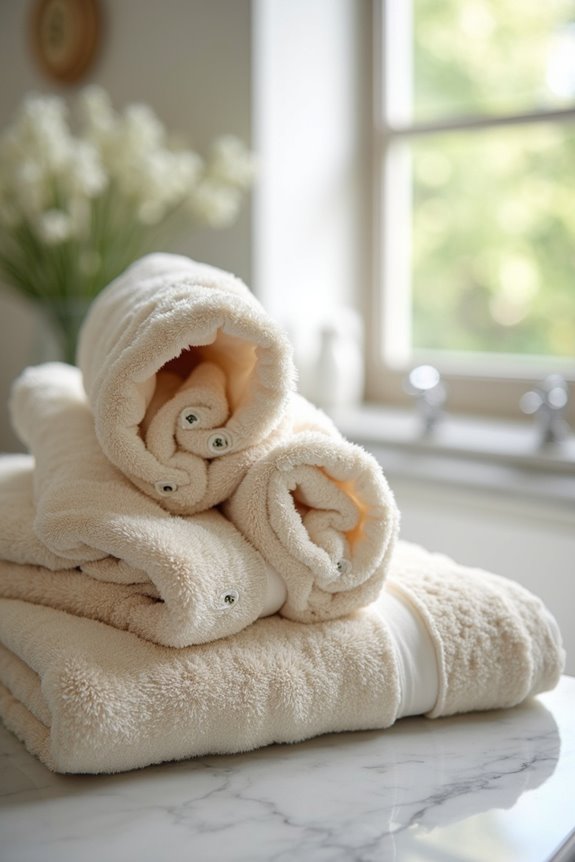
Ready to decorate your towels with something that looks way more complicated than it actually is?
Fabric yo-yo rosettes are an effective method for creating decorative trim. Here’s how to make them:
- Cut 3-inch fabric circles, then stitch a running stitch around each edge
- Pull the thread tight to gather the fabric into a puckered rosette, securing with a knot
- Press flat before mounting for a polished finish
Now add button accents. Center a coordinating button on each rosette and sew it down. This creates visual cohesion and keeps everything looking intentional.
Want dimension? Layer rosettes in varying sizes. Attach them to your towels by sewing through the center or using fabric glue if you’re skipping the wash cycle.
Your bathroom will have a professionally decorated appearance.
Stack Buttons Into Tassel Trim
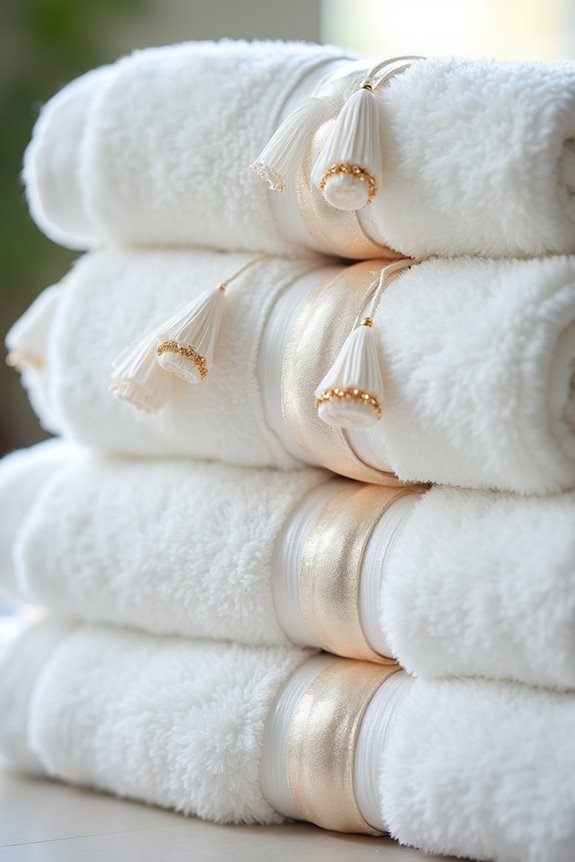
You can create striking button tassel trim by threading a stack of buttons onto thread with a knotted end at the bottom, then securing them to your towel’s edge at even intervals. If you want a more refined approach, try jewelry-making endpins instead—just thread a wire loop through your button stack to form the tassel’s loop for a polished appearance. Either way, you’ll enhance a plain towel into something that looks professionally finished and far more interesting than before.
Threading Button Stacks
Threading buttons onto a single strand of thread creates one of the coolest decorative trims you can make—and it’s way easier than it sounds. Your bathroom will look more personalized with this DIY touch.
Here’s your threading plan:
- Knot the thread’s bottom end to anchor your first button securely in place
- Stack buttons vertically along the thread, spacing them however you like for your towel trim
- Leave extra thread at the top so you can sew your button tassels directly onto the towel edge
When you attach your finished stacks, sew them straight down your towel’s edge with even spacing, creating a decorative ribbon effect. Your guests will notice this custom detail—and you’ll feel proud knowing you made it yourself.
Tassel Attachment Methods
With your button stacks threaded and ready, it’s time to attach them as functional tassels to your towels. You have two solid attachment methods to choose from, and both deliver quality results.
| Method | Tools Needed | Best For |
|---|---|---|
| Thread Sewing | Needle, thread | Traditional look |
| Endpin Looping | Jewelry endpins | Modern style |
| Spacing Evenly | Ruler, pins | Uniform appearance |
| Securing Knots | Heavy-duty thread | Durability |
| Trimming Excess | Sharp scissors | Clean finish |
For thread attachment, sew your button tassel directly through the towel edge at regular intervals. With endpins, create a small loop at the stack’s top, then secure the entire trim along your towel edge. Either way, you’re creating professional-looking tassel attachment that adds decorative detail to basic bathroom towels and turns them into personalized pieces.
Attach Appliqués, Beads, or Embroidered Patches
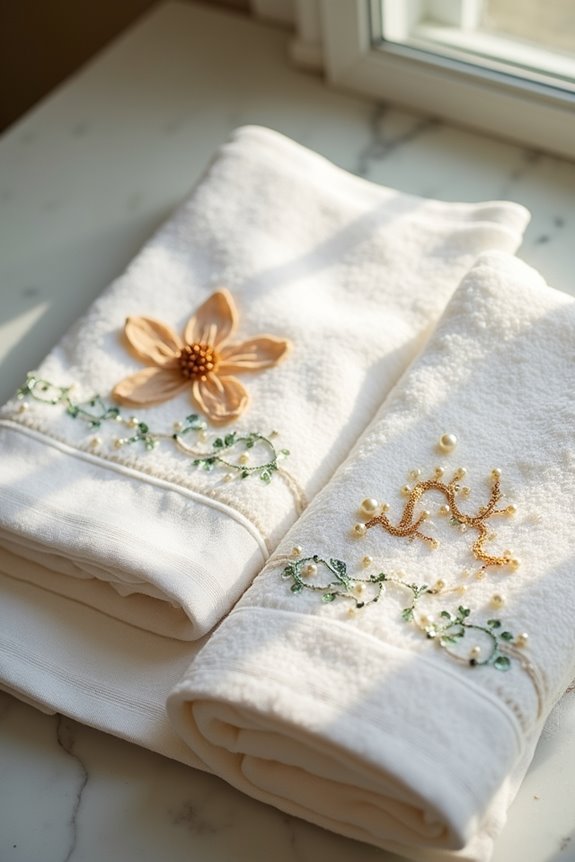
Want to turn your plain towels into mini works of art? Appliqués, beads, and embroidered patches give your hand towels a decorative touch that’ll make your towel rack stand out in your bathroom.
Turn plain towels into mini works of art with appliqués, beads, and embroidered patches that make your bathroom stand out.
Start by washing and drying your towel first—this prevents annoying puckering later. Then position your embellishment on a clean, dry surface and press firmly. You’ve got two solid options:
- Fabric glue method: Apply laundry-friendly glue, secure edges with tight stitching, and prevent fraying
- Sewing approach: Use matching thread and zigzag seams for extra durability
- Bead anchoring: Stitch multiple times underneath each bead to prevent wobble during washing
Finished edges and reverse-side stitching keep everything from unraveling. Whether you’re adding sparkle or personality, these techniques create custom towels worth displaying.
Seal Ribbon Ends So They Don’t Fray
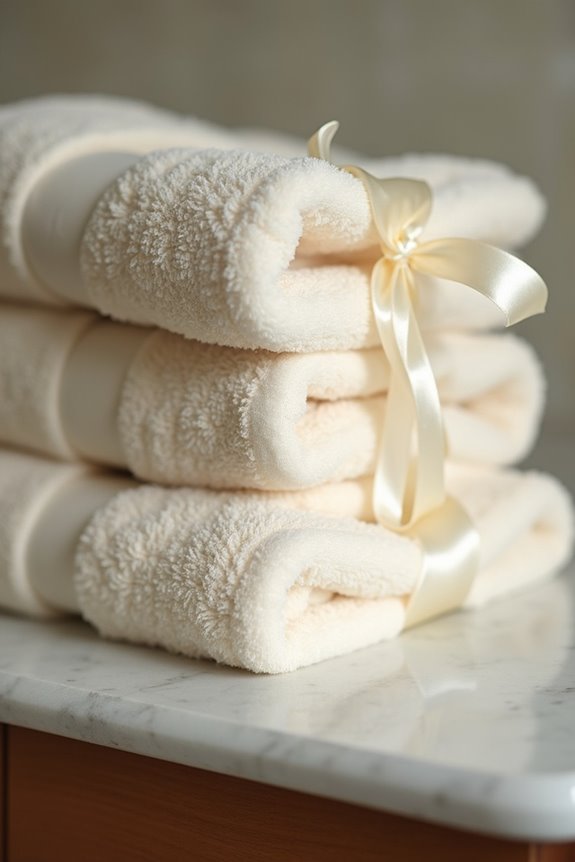
Ever noticed how ribbon edges unravel the second you cut them? You’re not alone! Sealing ribbon ends prevents that frustrating fraying that ruins your beautiful towel designs.
| Method | Process | Best For |
|---|---|---|
| Fold & Stitch | Fold edge under 1/4 inch, press, stitch vertically | All ribbon types |
| Hot Glue | Apply thin bead, let dry completely | Quick projects |
| Fray-Check | Slip sealer along cut edge for protection | Extra durability |
You have several solid options for fray prevention. The fold-and-stitch technique provides a polished, professional look that will last through countless washes. If you’re short on time, hot glue works well—just apply carefully and let it dry completely. For wired ribbon, twist the end into a tight point, then secure with fabric glue.
Top it off with sealant products like fray-check for maximum protection. Your towels will benefit from that finished touch.